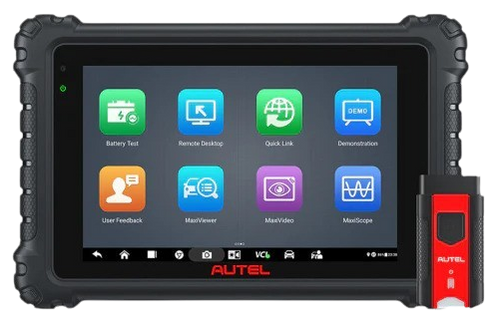
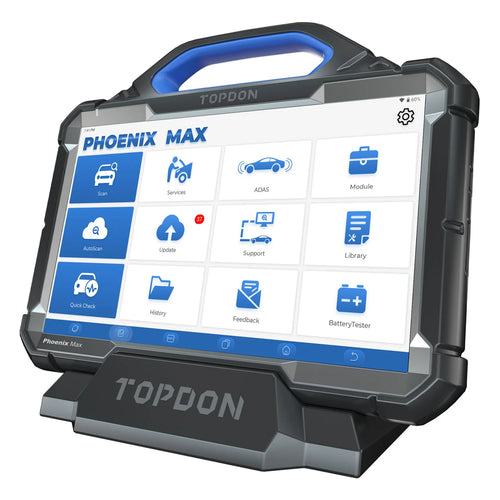
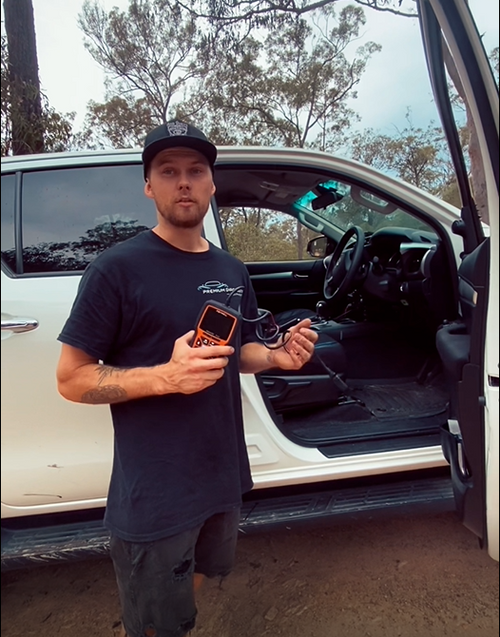
Using an OBD (on-board diagnostic) scan tool gives you an easy way to diagnose and fix problems with your vehicle
When Do You Need A Scan Tool?
- When a Check Engine light comes on
- When any warning light comes on (you may need a more comprehensive scan tool to diagnose warning lights other than the check engine light)
- Monitor engine live data and PIDs
- After completing repairs on a vehicle and you need to simply clear the check engine light
- Record vehicle performance and statistics
Please don't make the mistake of thinking a car scan tool is going to magically fix all of your vehicles issues. It's not going to fix a flat tyre or fix faulty parts that require replacement. However it as a very handy tool to have if you have an warning light that has come on and you want to know why. They are also great for monitoring live data from your vehicles sensors
Read up here on how a basic scan tool works
Please note a basic scan tool may not be comaptible with your vehicle.
Read here to find out if your vehicle is compatible
How To Use a Scan Tool
1- Locate the OBD port or Diagnostic Link Connector (DLC) in your vehicle. This is a somewhat triangular shaped 16-pin connector that is commonly located underneath the left hand side of the dash near the steering column. If you have trouble locating the port, search for the location on the internet using your car’s model and year, or refer to the owner’s manual.

2. Insert the scan tool into the OBD port Turn your ignition on, but do not start your engine. You will see the scanner begin to communicate with the onboard computers in your vehicle. Messages like "searching for protocol" and "establishing data transmission link" may appear on the scanner's screen.
- If the screen stays blank and does not light up, jiggle the connector to achieve a better contact between the scanner and DLC connector pins. Older cars in particular may have poorer connections.
- If you still aren't having any luck, be sure that your cigar lighter works. This is because the OBD-II system uses the cigar lighter circuit to provide voltage to the DLC. If the cigar lighter does not work, locate and check the appropriate fuse.
- Active codes are live codes or malfunctions that are present in your vehicle rigt now
- Pending codes mean that the OBD-II monitoring system has failed the operation of an emission control system at least once and if it fails again the Check Engine Light will be turned on and the malfunction becomes an Active code.
- Historic codes are fault codes that have been logged with the vehicles computer system previously but are not current.
5.Retrieve your fault codes. Each fault code will start with a letter which designates what system the code is referring to. There are several letters that you may see, though you may have to move to different menus to see them:
- P - Powertrain. This covers the engine, transmission, fuel system, ignition, emissions, and more. This is the largest set of codes.
- B - Body. This covers airbags, seat belts, power seating, and more.
- C - Chassis. These codes cover ABS, brake fluid, axles, and more.
- U - Undefined. These codes cover other aspects of the car.
Dont worry too much about this as all of our scan tools will give you a code and description
6.Figure out what your code relates to. For example P0301 indicates a misfire condition on cylinder #1. The P indicates it's a powertrain code, the 0 indicates that it is a generic or universal code. The 3 means the area or subsystem is an Ignition System code.[1]
- The fault code and description displayed could be an obvious fault or it could mean one of many issues, you now need to pin-point where the fault lies
- The example code P0301 indicates it's a cylinder specific problem, in that there is a misfire condition in the number 1 cylinder. It could mean that the spark plug, plug wire or ignition coil are worn out or that there is a vacuum leak near the cylinder.
- A code does not necessarily tell you what component is defective; it only points to or indicates that a component, its circuit, or its wiring/vacuum control are malfunctioning. The code may be the symptom of a malfunction caused by a completely different system.






wayne talay
December 13, 2021
which tool for stage one upgrade for a 2015 Holden Astra VXR pj?